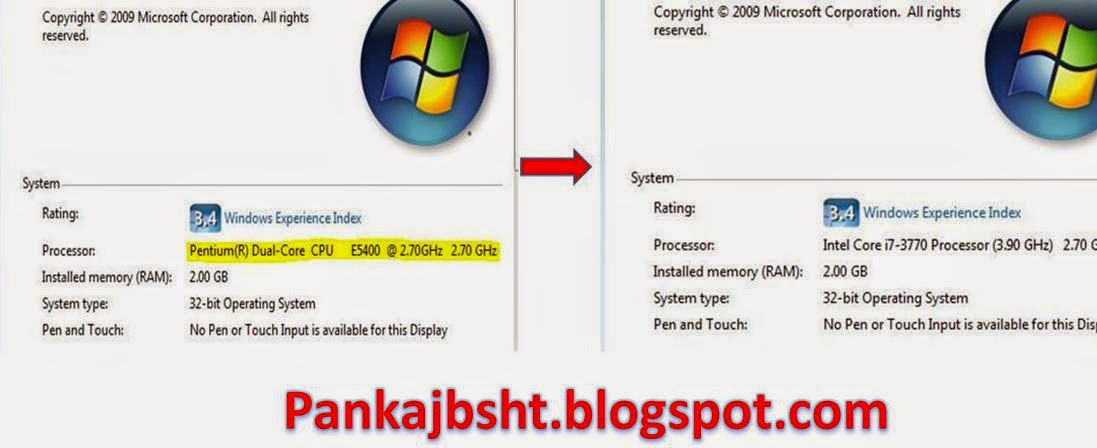
Change Processor Name Permanently
- Click on Start.
- Click on Run.
- Type "regedit" without quotes.
- Navigate to HKEY_LOCAL_MACHINE/HARDWARE/
- From HARDWARE, navigate to DESCRIPTION/System/Central Processor/.
- now click on both 0 and 1 one by one & repeat step 7.
- In the work area, double click on ProcessorNameString, and change its value according to your choice.
- Click ok.
- now go to file menu.
- click on export.
- save it on your desktop with any name with reg extension.
- now copy this file.
- click on start button .
- then click on all program and then right click on start up.
- open start up folder.
- now right click on window and click paste shortcut.
- you are done.
now enjoy and prank your frndzzz with your desired processor name


Comments
Post a Comment